How To Repair A Torn Car Seat

Dealing with a torn car seat can feel stressful, but learning how to repair a torn car seat yourself saves time, money, and future frustration.
Assess the Damage Before Starting Any Repair
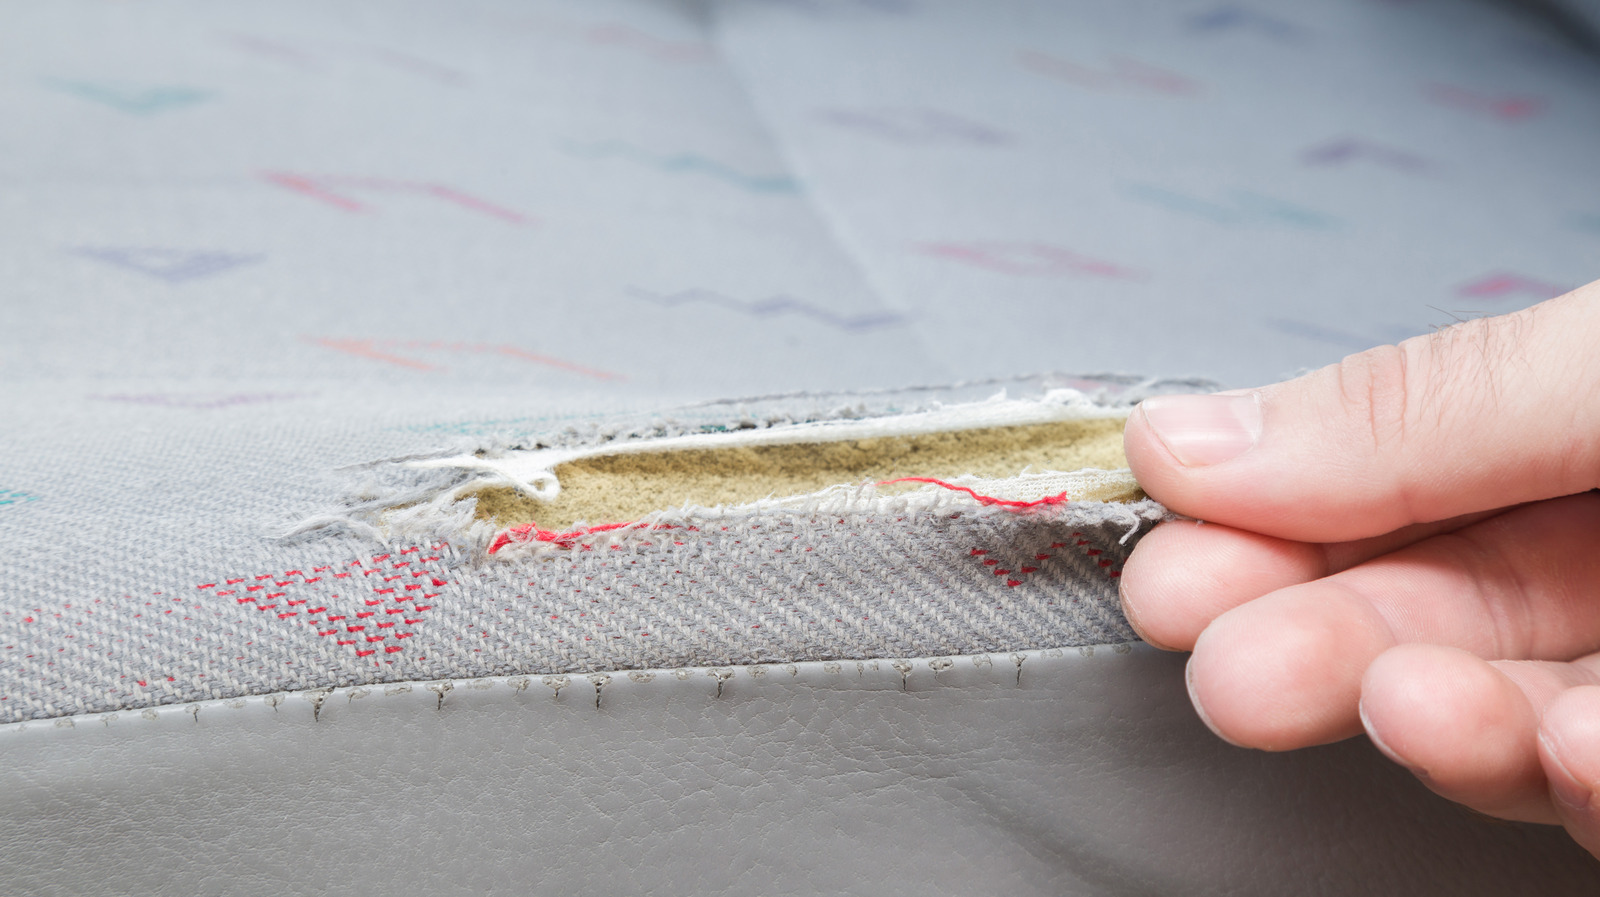
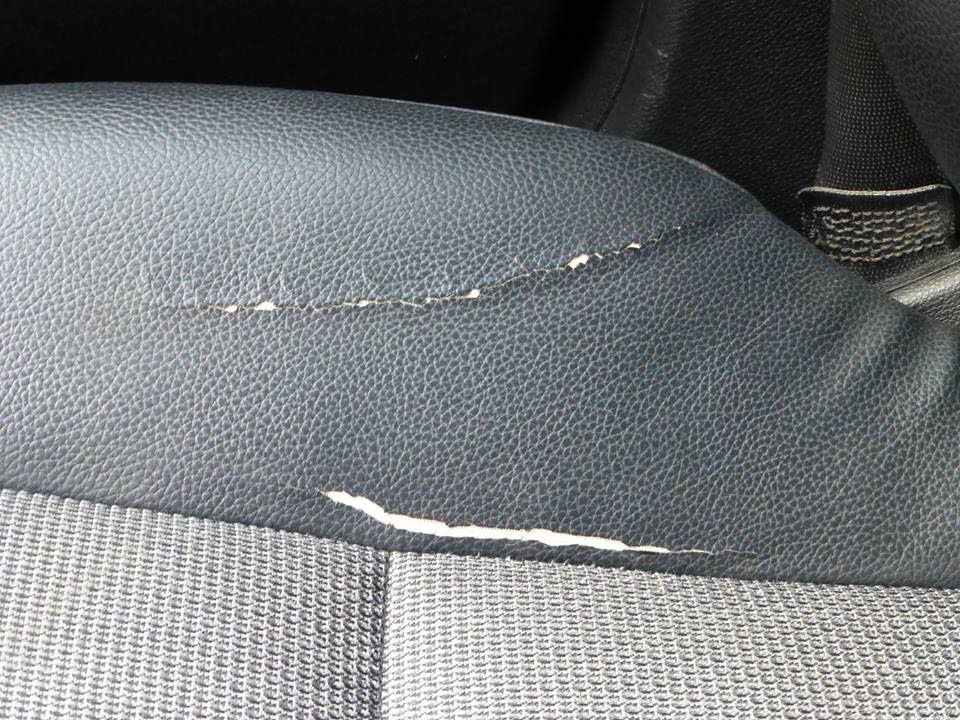
The first step in how to repair a torn car seat is to carefully examine the extent of the damage. Look at the fabric, stitching, and any underlying foam to determine if the tear is superficial or if it has reached the seat cushion filling. Small snags and minor rips are often easier to fix, while larger gaps may require more advanced techniques and materials.
Take clear photos of the torn area from different angles, as these will help you reference the exact pattern and orientation later. Note the type of material your seat uses, such as genuine leather, synthetic leather, or cloth, because each surface demands specific adhesives and repair products. Understanding the full scope of the issue is essential for how to repair a torn car seat effectively and for preventing further damage down the road.
Gather the Right Tools and Supplies
Having the correct tools on hand makes the repair process smoother and more professional. For most situations, you will need a strong fabric or leather adhesive, fine-grit sandpaper, cleaning wipes, a soft cloth, and a set of small clamps or heavy books to hold parts in place while they dry. Depending on the size of the tear, you might also want a needle and durable thread or a repair patch designed for automotive interiors.
- Fabric or leather repair adhesive
- Clean microfiber cloths and isopropyl alcohol
- Fine-grit sandpaper or sanding block
- Needle, thread, and small scissors
- Clamps, rubber bands, or heavy books
- Optional: color-matched repair patch or dye
Gathering these items before you start reduces interruptions and ensures you can focus on how to repair a torn car seat correctly the first time. Keeping a dedicated repair kit in your vehicle also makes it easier to handle small rips and tears as soon as they appear, preventing them from worsening during daily drives.
Clean and Prepare the Torn Area Thoroughly
Proper cleaning is a critical part of how to repair a torn car seat because dirt, oils, and dust can prevent the adhesive from bonding securely. Use a mild soap solution or a specialized interior cleaner to remove surface grime, then wipe the area with isopropyl alcohol to eliminate any remaining residues. Allow the seat to dry completely before moving on to the next step, as any moisture trapped under the repair can cause the bond to fail later.
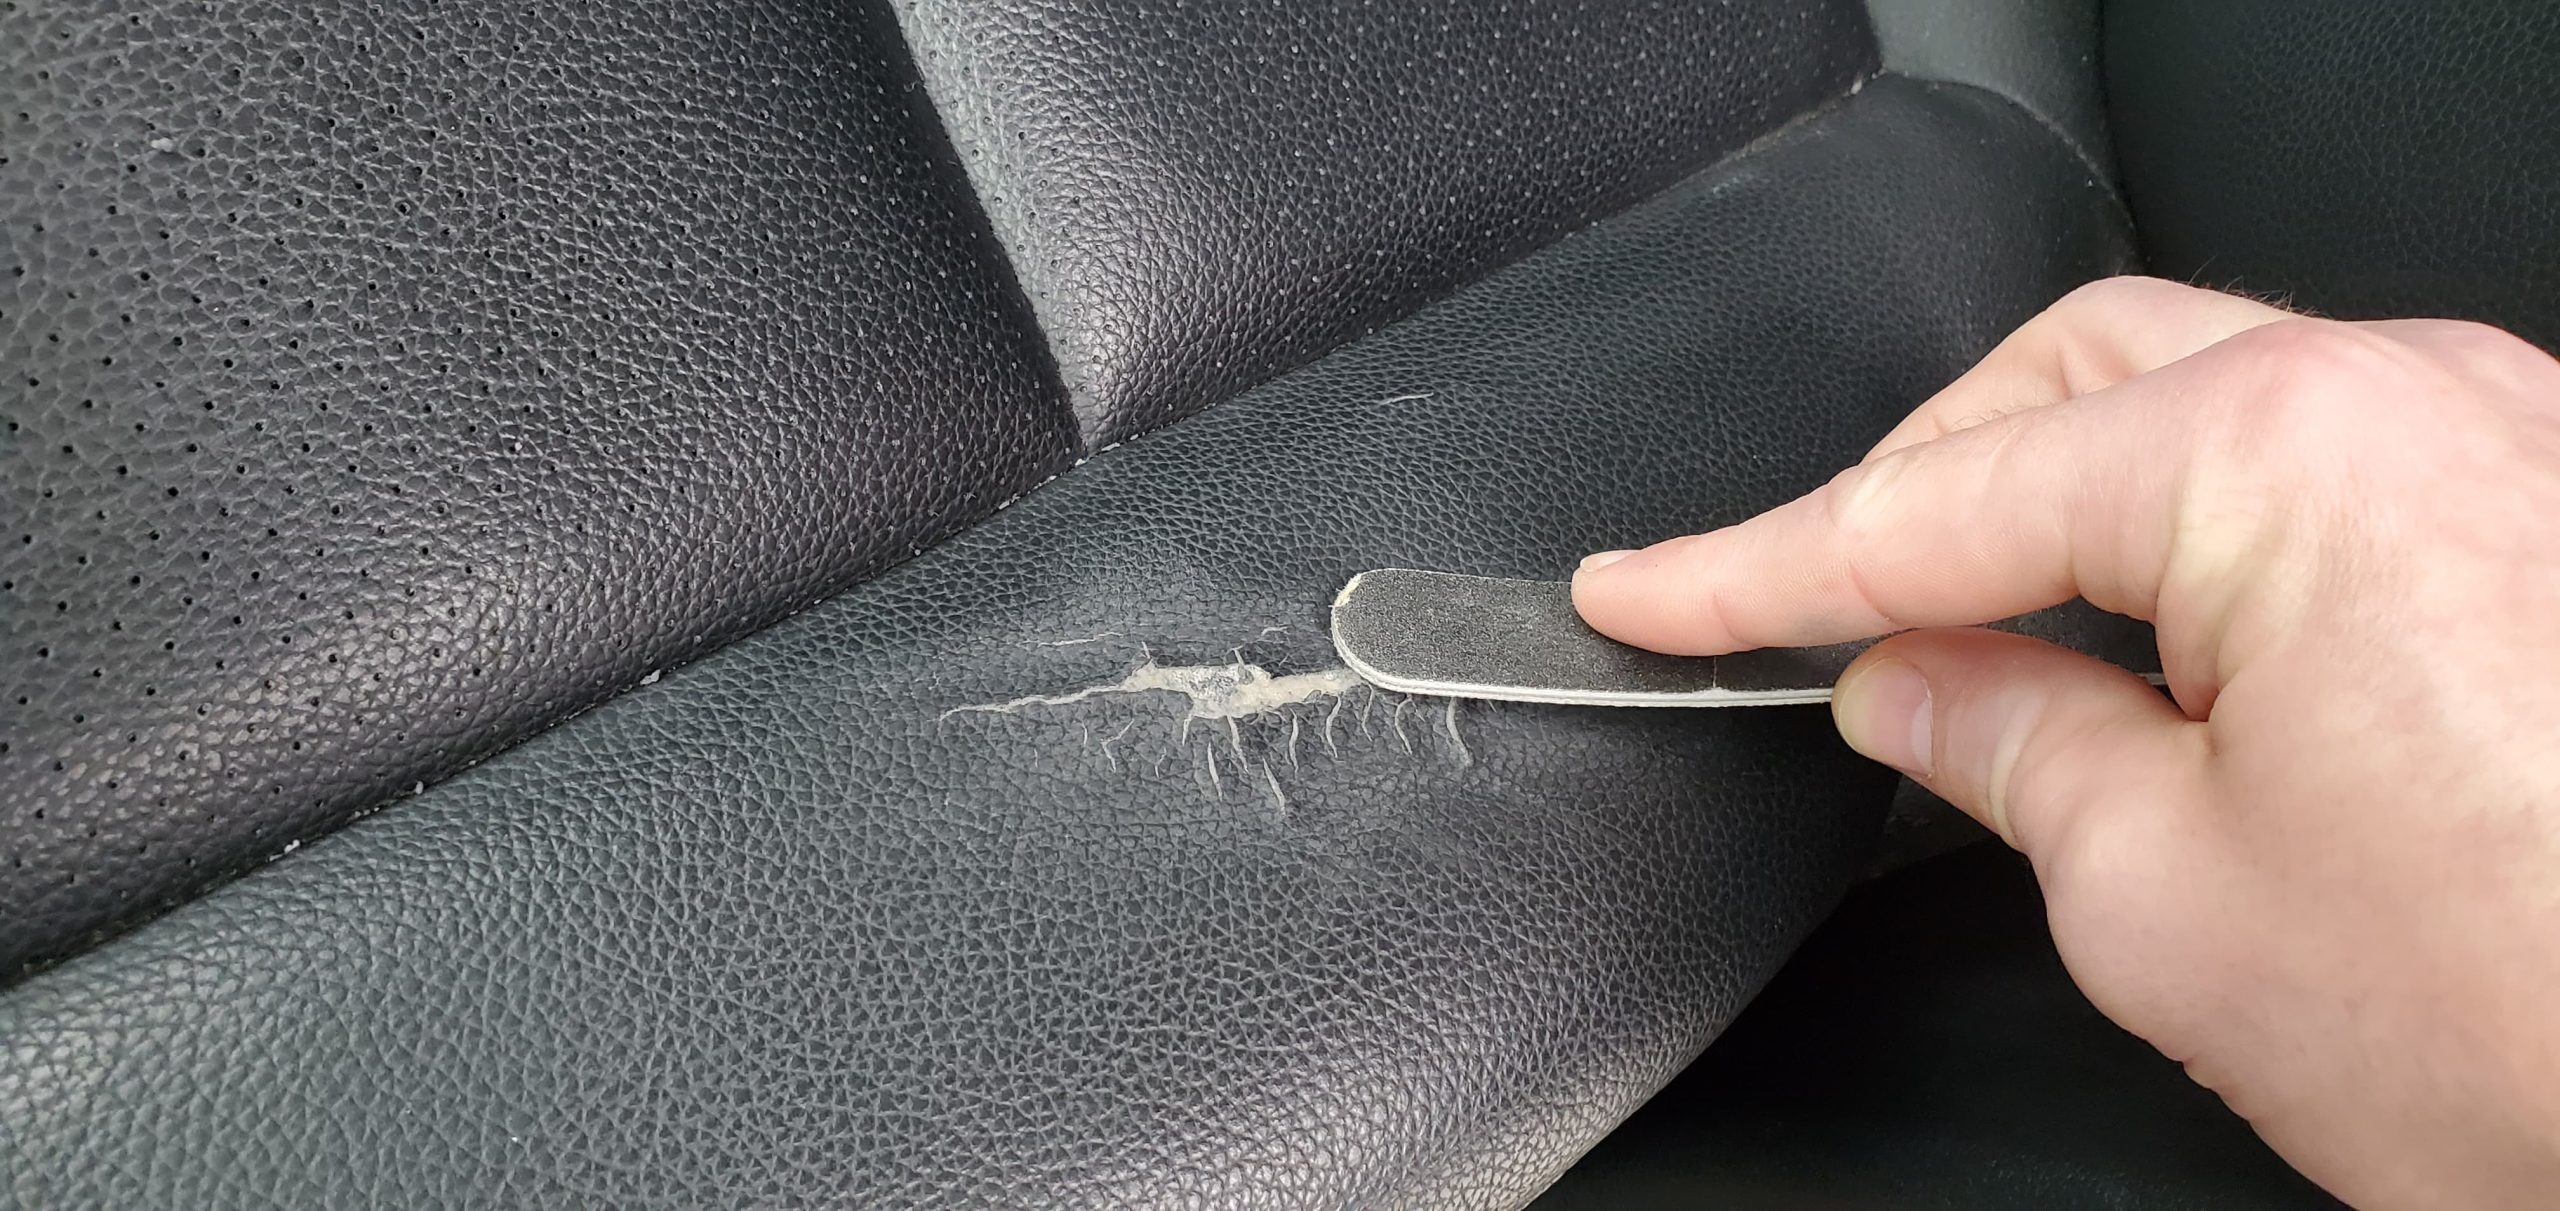
Lightly sanding the edges of the torn fabric or leather helps create a rougher surface that the adhesive can grip more effectively. Be gentle during this stage, focusing only on the immediate perimeter of the tear to avoid damaging the surrounding material. A well-prepared surface is the foundation of a durable fix, which is why careful preparation is emphasized in almost every guide on how to repair a torn car seat.
Patch Small Tears with Precision
For small holes or minor fraying, a thin fabric patch can provide extra strength and keep the tear from expanding. Cut a piece of matching fabric or adhesive-backed patch that slightly overlaps the damaged area, then apply a thin, even layer of adhesive to both the patch and the seat. Press the patch firmly into place, smoothing out any air bubbles, and secure it with clamps or weights until the adhesive cures fully.
When working with leather seats, choose a patch that closely matches the grain and color to maintain a uniform appearance. This attention to detail is especially important if the seat surface is visible during everyday use. Practicing patience during this stage ensures a cleaner result and supports the long-term success of your repair efforts.
Reinforce the Stitching and Seal the Edges
Many tears around the edges of a car seat begin where the stitching has started to unravel, so addressing the seams is a key part of how to repair a torn car seat. Use a strong, color-matched thread to carefully sew along the existing stitch line, adding a few extra passes on each side of the tear to reinforce the area. Make sure the stitches are tight enough to hold the material together but not so tight that they pucker or distort the seat surface.
After sewing, apply a thin bead of adhesive along the outer edge of the repaired section to seal any loose fibers and prevent future fraying. Wipe away any excess glue immediately, as dried adhesive can feel rough or create an uneven texture. Properly sealing the edges not only improves durability but also gives the repair a more finished and professional look.
Restore Appearance and Comfort
Once the structural repair is complete, you can focus on restoring the look and feel of the seat. If the fabric or leather has lost some color in the torn area, consider using a dye or color restorer designed for automotive interiors. Apply the product lightly and blend it carefully to avoid creating noticeable lines or uneven patches that draw attention to the repair.
Adding a layer of conditioner or a protective treatment can also help the repaired area blend in with the rest of the seat while providing extra resistance to wear. Regular cleaning and gentle care will keep the reinforced section in good condition, making this restoration step an essential part of learning how to repair a torn car seat thoroughly and with lasting results.
Test the Repair and Prevent Future Damage
Before you start driving long distances, gently press and flex the repaired area to confirm that the adhesive has bonded well and the stitching holds securely. If any looseness or weakness remains, it is better to address it early than to risk a more extensive failure later. Routine inspections of your car seats help you catch new rips or worn spots before they turn into larger problems.
Using seat covers, protective mats, and careful entry and exit habits can significantly reduce the chances of future tears. By combining proper repair techniques with simple preventive measures, you extend the life of your interior and maintain a comfortable, safe driving environment. Understanding how to repair a torn car seat empowers you to keep your vehicle looking and feeling its best for years to come.

In conclusion, repairing a torn car seat becomes a manageable task when you approach it methodically, use the right materials, and follow each step with care. From assessing the damage to reinforcing stitches and restoring the appearance, every action contributes to a durable and visually pleasing result. With practice and attention to detail, you can handle seat repairs confidently and keep your car interior in excellent condition.
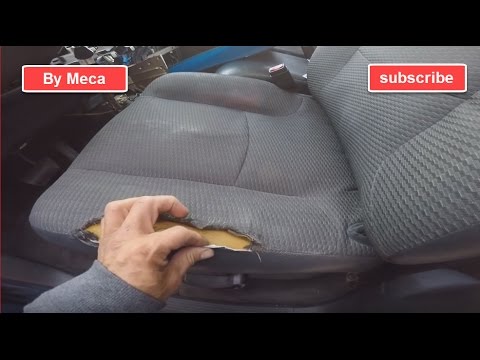
How To Fix A Ripped Seat
In this video, I will be showing you how I sew & repair a torn seat that has ripped at a seam. I will also be applying a light coat of ...
